
TUTORIALS
Generating the weave blanket
Some designers argue that they don’t need CAD because they can figure everything out in their heads. We cannot say that it is not true, but it can only happen after many years of experience and if you only work with one type of fabric all the time. Normal people like us need all the help we can get, whether it’s from a CAD program like ArahWeave or by running countless trials on the loom.
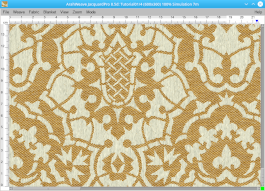
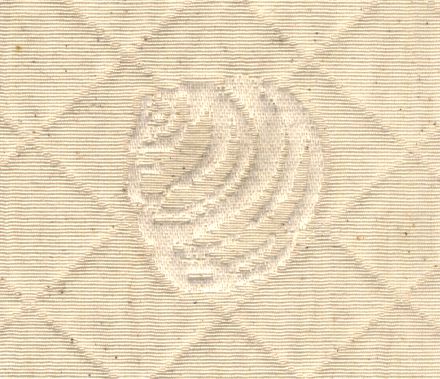
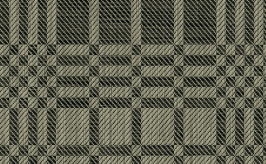
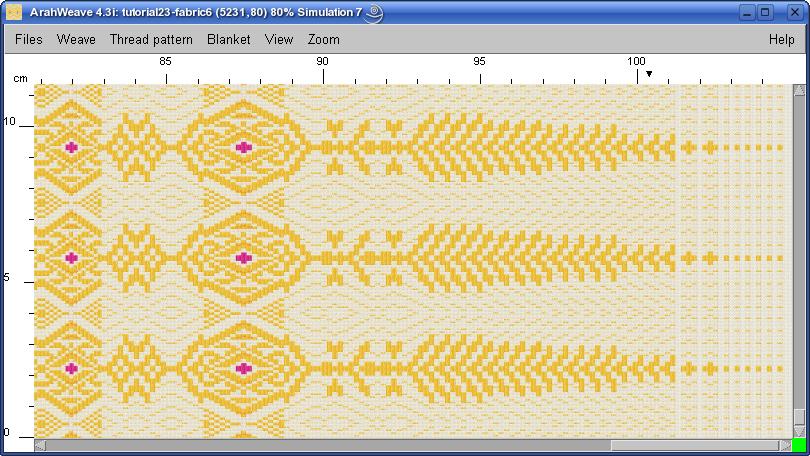
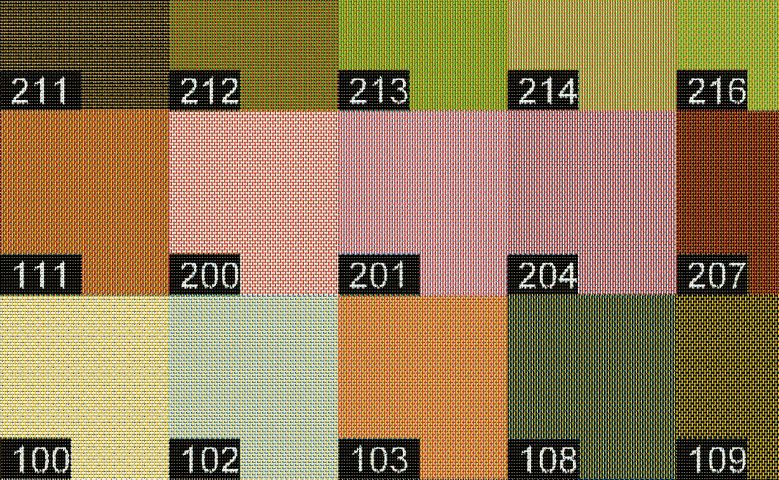
How can we use CAD to automate loom trials? We can make a weave blanket. Weaving a sample fabric made of many different weaves as a decision tool for weave selection is an old weaver’s practice. Each weave section has a name or number woven into it for reference. They make the weave blanket in the same way that they make a regular Jacquard fabric: draw a color image, replace color areas with weaves, and weave a fabric. The image below depicts a section of a weave blanket to help you understand what we’re talking about.

Even with a CAD, making a weave blanket is obviously a lot of work. It’s almost like making a calendar. Many design firms do it for publicity purposes. However, only once a year.
ArahWeave allows you to make a Jacquard weave blanket in seconds. You must, however, create the weaves on your own.Load any indexed (8-bit per pixel) image into the Jacquard conversion window and select Weave blanket as the conversion type.

Program automatically includes weave file name in each weave section. So you need to choose a weave for filename letters, and a weave for the filename background. Both weaves should be same type as the weaves, which will be included in the weave blanket. To load weaves, open Browse from the Choose weaves menu of the Jacquard conversion window. In the Browse window navigate to a directory, where the weaves which you want to weave, are located. Load a weave for background in the first color tab, and weave for letters in the second one. You should use contrasting weaves, so that you will be able to read the weave name.

There are four general settings in the Weft blanket conversion:
- Number of weaves This is done by setting the number of columns in the Horizontal field, and the number of rows in the Verticalfield.
- Title size Choose the number of wefts, which will be used for filename in the Title height field.
- Top edge Enabling it, you add some wefts (doubled title height size), woven with the weave for filename background, creating space for cutting the woven piece off the loom. You can customize this extra space by company name, batch number, whatever, which you type in the field below the Top edge box.
- Weave blanket size You need to set the number of warp ends (hooks) in the warp field, and the weft threads in the Weft field.
In the following example we use 2400 warps, and 2160 wefts. The weave blanket will have six columns, and twelve rows, so the resulting weave blanket will contain 72 weaves. The size of each weave will be 400 warps (2400/6), and 270 wefts (2160/12). Program will use 36 wefts for woven filenames. The title on the top will contain text: “Made by ArahWeave”.

By clicking with mouse on the weave in the Browse window, you select the first weave in the the weave blanket fabric (starting from bottom left corner).

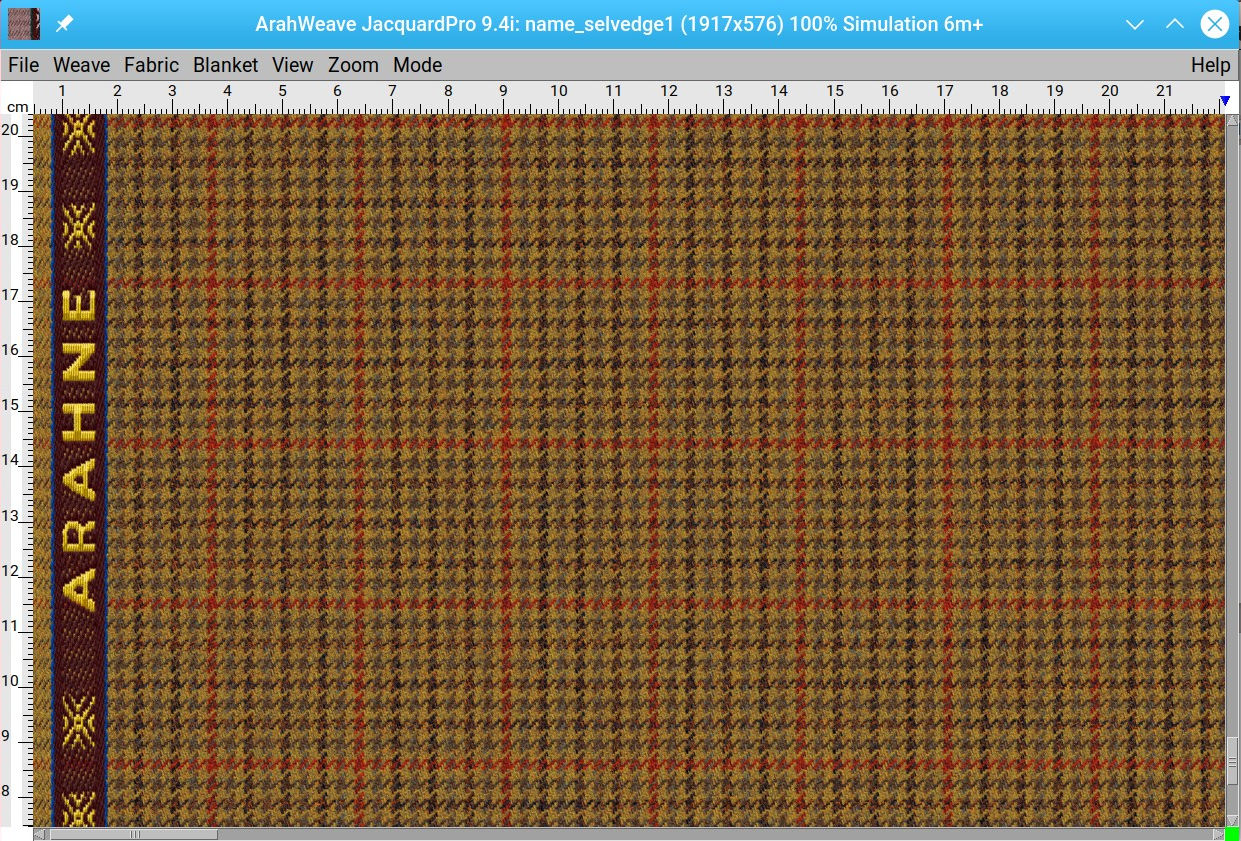
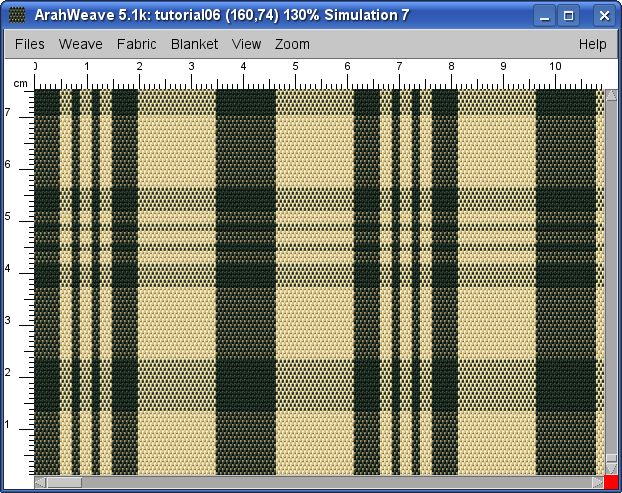
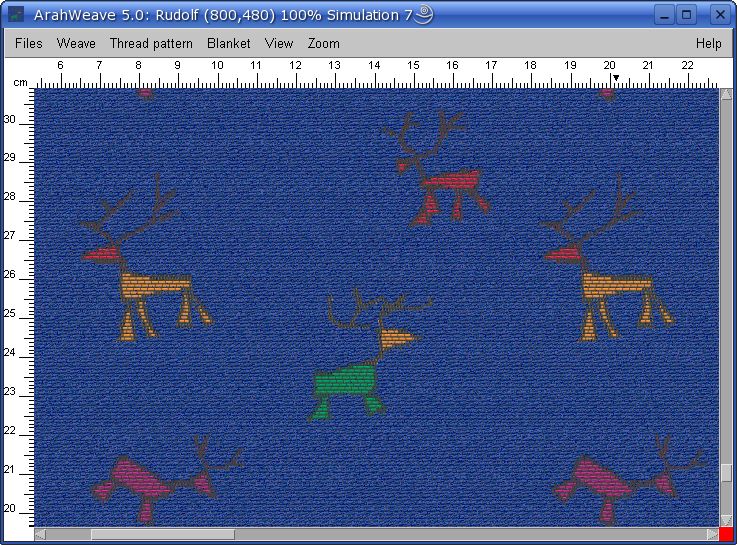
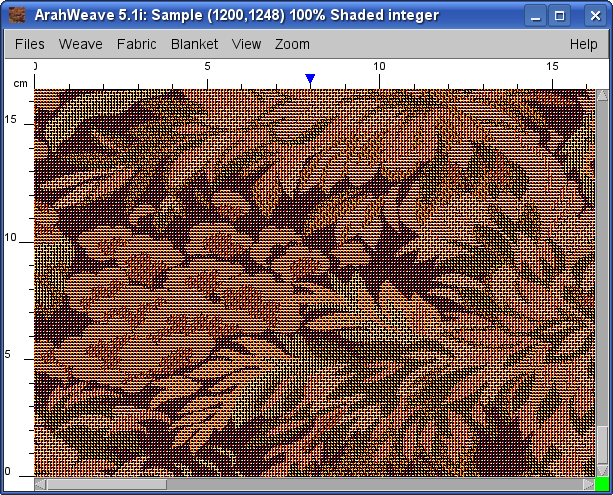
Then just click OK in the Jacquard conversion window, and the program will generate the Jacquard weave according to your specifications. The picture below shows the weave blanket simulation. All that remains to be done is to make a Jacquard file for the loom, and actually weave it.

We first implemented this feature after suggestion of late Franco Gunetti on 5th of July 2000. It was originally done with normal shirting weaves, but later it proved to be equally useful on gobelin weaves.
