
TUTORIALS
Double ground with extra wefts in the middle
The construction of a jacquard fabric with extra wefts is quite an easy task, if you are using ArahWeave. But one of our customers was not satisfied with the normal setting of layers: usually the extra wefts are stitched on the back side of the fabric, where they are not required to form the motif on the face of the fabric. In those areas, he wanted to have extra weft hidden between two layers of a double fabric. The fabric in question was intended for upholstery, and upholsters do not like any irregularities on the back of the fabric, since it makes their job harder. In this tutorial, we will explain how to accomplish this feat.

We will use a simple motif figured with extra weft. As mentioned before, we need to design a double weave for ground, so the extra wefts will be placed in the middle of the two layers. The motif consists of five colors, but there are two colors at most on each horizontal line. This means that we will have just two extra wefts at once. The weft pattern is formed as follows: two ground wefts, followed by four extra wefts. Of course, once the pattern is properly fixed, you will have areas with just ground wefts and no extra wefts, and areas with two grounds and two extra wefts (but not more).
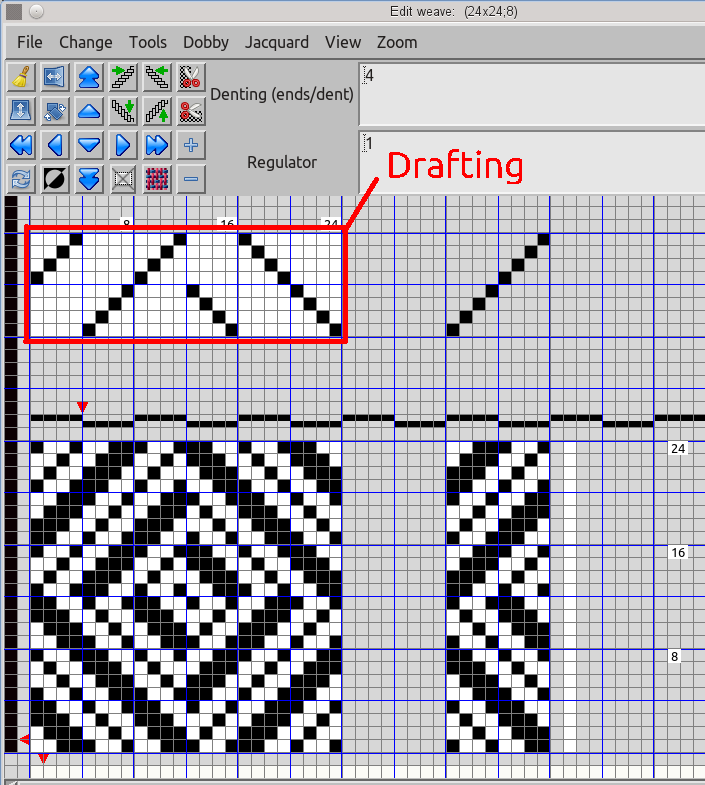
The weave used for the ground is shown in the picture below. It is a double weave with herringbone twill on the face and a plain weave on the back. The special function Change > Edit decomposed is a great tool for editing double weaves. You just enter the size of compound weave (24 by 8), then the layout of warp and weft threads (2), and draw or load the single weaves in Edit decomposed editor. The compound weave is generated in the main weave editor. Warp and weft layout is simple: “2” means one thread in the first block, one and one in the second block. Now if we play our cards correctly, one of the blocks will end up on the face, and the other in the back of the fabric. By now, you should be able to recognize the characteristic check board pattern in the decomposed editor:
- upper left: completely black – second weft will always be below first warp
- bottom left: herringbone, which we want on the face
- upper right: plain weave, which we want on the back
- bottom right: almost completely white; the black points will tie the two layers together

We could use the same weave for the ground under the extra weft motif. But usually we prefer a weave with predominant warp effect in such situations, in order to minimize the influence of the ground wefts on extra wefts, and to provide greater freedom at selecting the stitch points (where we attach the extra weft to the ground). So we construct a simple double weave with warp twill 3/1 on the face, and the plain weave on the back.

We want to have strong colors on the extra wefts, so we will use a weft satin 8. It is interlaced with the first warp only, so the second warp is always down. We do not want to tie the extra weft to the warps which are at the back of the fabric, do we?

We need only one more weave, and then we can plunge into jacquard conversion. This “weave” is necessary for extra weft in areas, where it is not forming the effect on the top. Usually, this would be a very large warp satin, since we would want it loosely connected to the back side of the fabric. But we want something special in our example: we want it to be hidden between the two layers of the ground weave. We will make a funny “jail” weave, which will force the weft thread below each odd thread, and on top of the even threads. Since the odd threads are on top of the ground, and even ones are on the back, this will put our extra weft in the middle. So you see, the “weaves” which we insert in jacquard conversion are not always weaves in a strict technical sense, they are more like an instruction to the thread: be nice and do what I want 😉
It is also worth noting that the extra wefts will float freely in the middle of the fabric, without any attachments to the top or bottom of the ground weave. This will not affect fabric durability, since it will be nicely hidden. Even better – the fabric will be more regular, since the ground weave will not be disturbed by the attachment of the extra wefts.

Choose Weave > Jacquard conversion. Load image in Jacquard conversion window. Select Extra wefts as the type of conversion; use the option menu on the left bottom angle of the window.
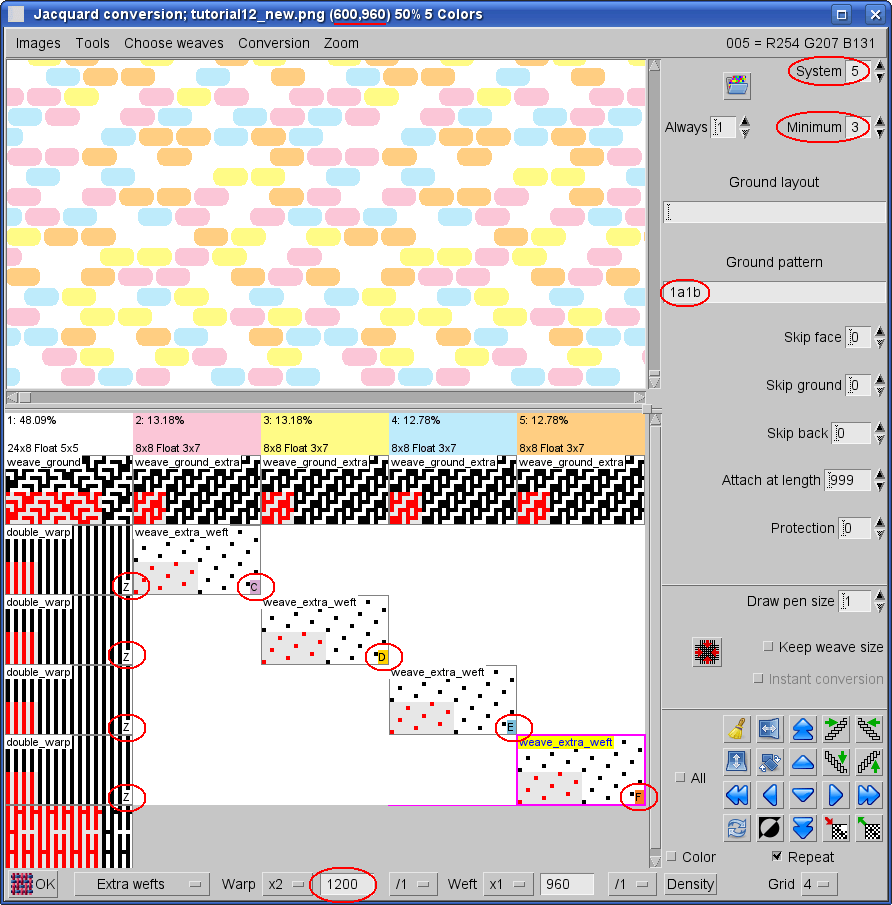
Now set System to 5, since we will use 5 different weave systems in this fabric: ground and four extra wefts (pink, yellow, orange and blue). Actually, there will be just two extra wefts at each section – there are only two extra colors at each horizontal line in the image. If we would put just two extra wefts, we would have to change the weft pattern manually from two to four colors. If the pattern is simple, then it is not so difficult or time consuming to write or draw it manually, but on a complex design like ours, it is better to leave the job to ArahWeave.
Set Ground pattern to 1a1b, because we will use a double weave with two ground wefts.
Another parameter, which we will use for this fabric, is Minimum. Since the area between figures in the image is relatively small, we can use the same number of wefts there to have even fabric quality across the whole height of the fabric. The program will put additional two extra wefts also on the area, where normally there would be only ground weft.
The size of the image is 600 pixels in warp direction. We have to multiply it by 2, because we have two warps in our ground weave. Weft size will be multiplied by the number of wefts automatically by the extra weft conversion program.
The weave selection area of the Jacquard conversion window shows all the 5 colors which are present in the image. The space for the weaves is located below each color. From top to bottom, we must specify the weave for each weft, first for ground, and then four for extra wefts. For example, white is ground, so we put in the weave_ground, followed by four times double_warp, which will put the extra wefts in the middle. The next color is orange, so we put weave_ground_extra as the first (ground) weave, then weave_extra_weft on the second one, since we want the weft on top there. By default, the program puts weft b as the first extra weft, but we have already weft b in the ground. We have to instruct the program, which weft yarn we want to have as the first extra weft: in this case it is weft yarn c. Just press c on the keyboard (the weave for extra weft should be selected). The remaining three weaves are again double_warp, to put the other weft threads in the middle. The remaining three colors (yellow, pink and blue) have the same layout as the orange, just that the weft which we put on the top is different. Again, use the keyboard to specify which weft yarns you want to have as the extra weft: d, e and f. Since most of the weaves are equal, it is convenient to load all the four weaves at different positions, and then just use the right mouse button to copy them to desired positions.
Extra weft is stitched to the ground of fabric in places, where it is not required for forming figures. Normally the stitching weaves have a warp effect. If you put a weft effect weave for stitching weave, the program puts the weft across the whole area. In our case; the double_warp weave has 50% weft points, and the program treats it as a weft effect weave. Obviously this is not what we want; we want to have it only where it is needed for designing purpose. So, mark the stitching extra weft weave in the ground with letter z. Now the program knows that we want to have it only where it is needed for designing purposes.

During the weave insertion, you can also enable the Color toggle button, and you will be able to see, to which weft color does the weave belong. You can see this in the next image. Your weft pattern and weft colors must be set, to have a meaningful picture. After you have loaded all the weaves and set all the parameters, press OK.

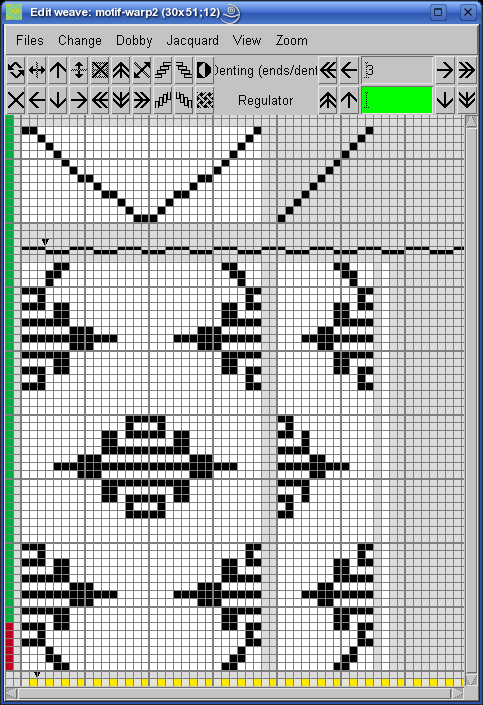
…and you will get the jacquard weave. Program will multiply the weft size by 5 (ground plus 4 extra wefts). The size of the image is 960 pixels in weft direction, and after the conversion there are 4800 (960 by 5) wefts in one weave repeat (view of weave is in black and white mode).

After the jacquard conversion, the program automatically writes the weft change and the extra wefts are present across the full fabric height. But we want to have them just at places, where they are required by the motifs. For this reason, we need to remove the unnecessary wefts, which are floating across the full width of the fabric. You can see them in the previous picture, as the completely gray horizontal lines. To get rid of those wefts, use the Weave > Edit > Jacquard > Remove extra warps/wefts function, or click ![]() icon in the Jacquard conversion window. After this operation, you will get at the final size of the weave: 1200 by 2880 (=4800-1920).
icon in the Jacquard conversion window. After this operation, you will get at the final size of the weave: 1200 by 2880 (=4800-1920).

The program automatically writes the correct weft pattern and puts the regulator (stop motion) at the right positions.

Now check the simulation with View > Simulation. Note that you have to set correct technical parameters (weft density, number of threads in fabric width), so the program can calculate and show the simulation in real density. Density from technical data must also be enabled in Density window, if you want to see the variable weft density caused by the regulator. Here we are using zoom level 200% and thinner yarns, so you can clearly see the double weave structure.

To see the underside of the fabric choose Fabric > Reverse. You can not see the extra weft on the back, just the plain weave of the ground.

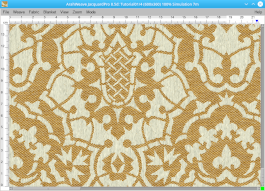
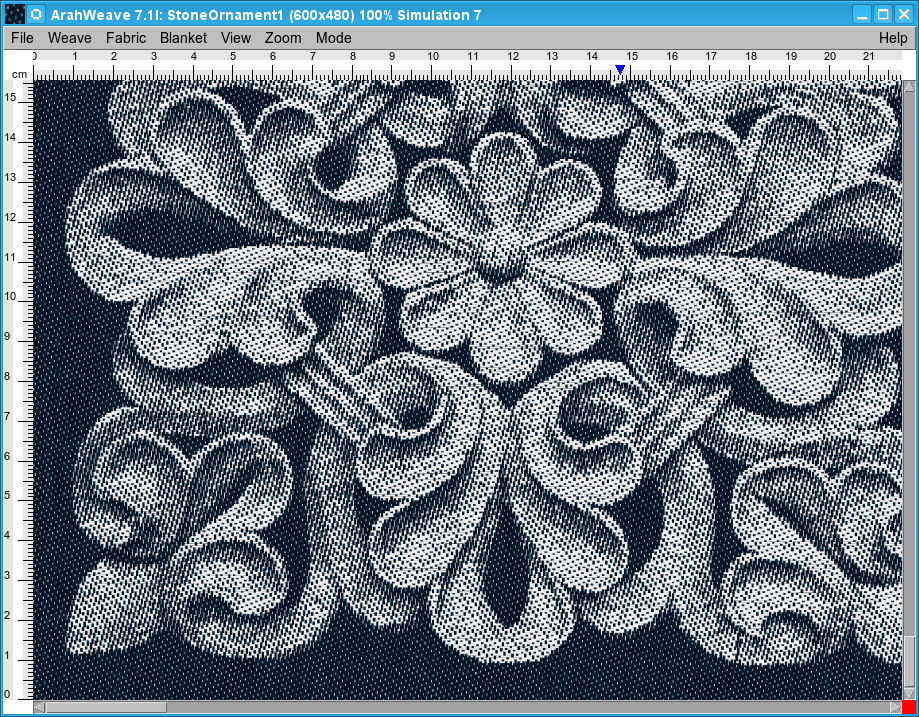
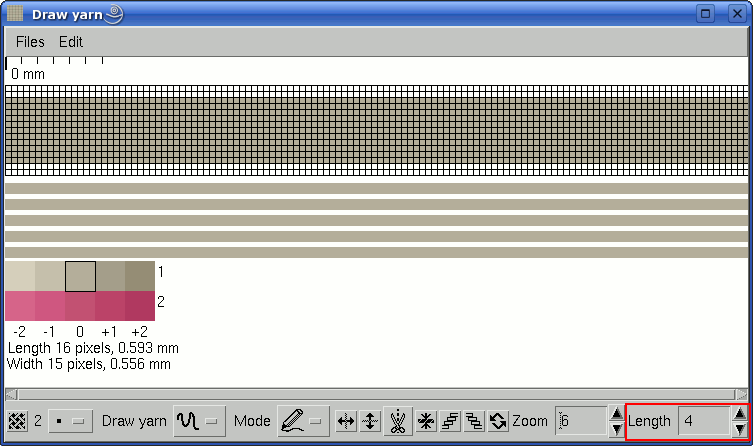
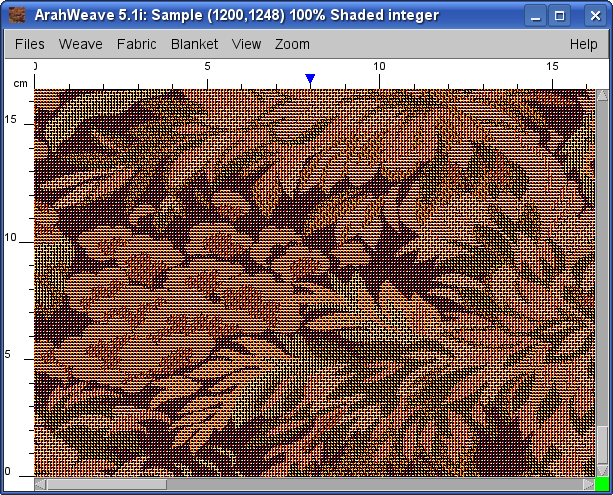
We will finish this tutorial with the simulation in real size. Remember to set the proper yarn dimensions, so you will be able to see it correctly.

If we zoom out the picture, we are able to see how it repeats.

Finally, you still need to save the cards for production on electronic jacquard, and this has been explained many times before, for example at the end of extra wefts tutorial.
