
DERSLER
Bir jakar dosyasından bir kumaş simülasyonu nasıl elde edilir
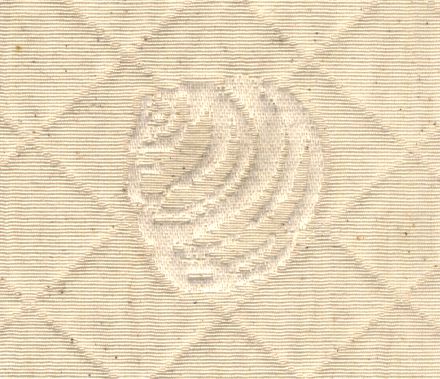
Bu derste kullanılan kumaşın hakları Lanificio di Sordevolo a aittir ve Bogner için dokunmuştur.
Most weavers would like to see a fabric simulation before weaving. Some are commission weavers, and do not have a CAD, or have one with a very limited simulation capacity. All they have is a jacquard file, which they need to weave. In this tutorial, we will teach you how to make a fabric simulation from the jacquard cards. It even works in the demo version of ArahWeave', and you can save the fabric simulation as a JPEG image. So download a demo and give it a try!
You can load the card into ArahWeave' from the Card browser (Weave > Load cards), which displays card files as image thumbnails, or simply drag and drop the file icon from file manager to ArahWeave' icon on your Desktop.
If you still use floppy disk, insert floppy and choose Weave > Read Jacquard floppy. When the computer finishes reading the files from the floppy, ArahWeave' will ask you to insert the next floppy. If the file is only on one floppy, or you have read in all the floppies, click Cancel, and the file selection box will appear. You can see that the name of the file is sample.jc5 and we can conclude that it is written in Stäubli jc5 format. Select the file, and ArahWeave' will automatically detect the file format and load it.

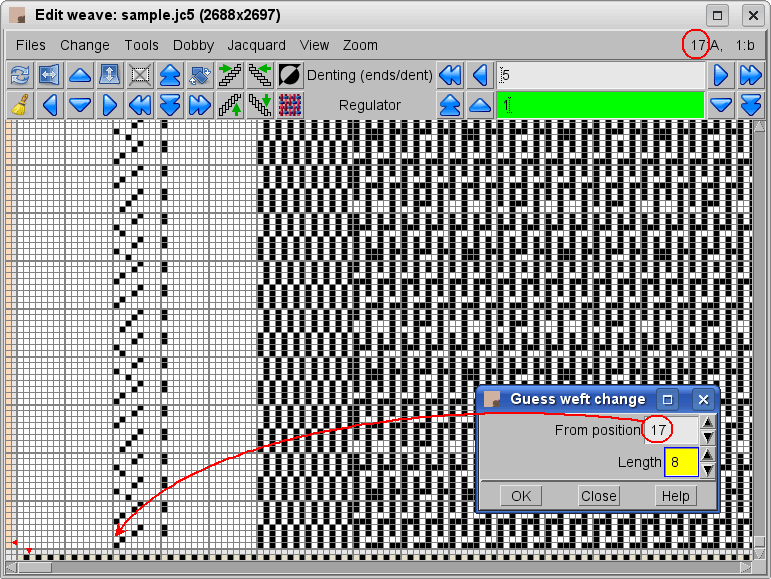
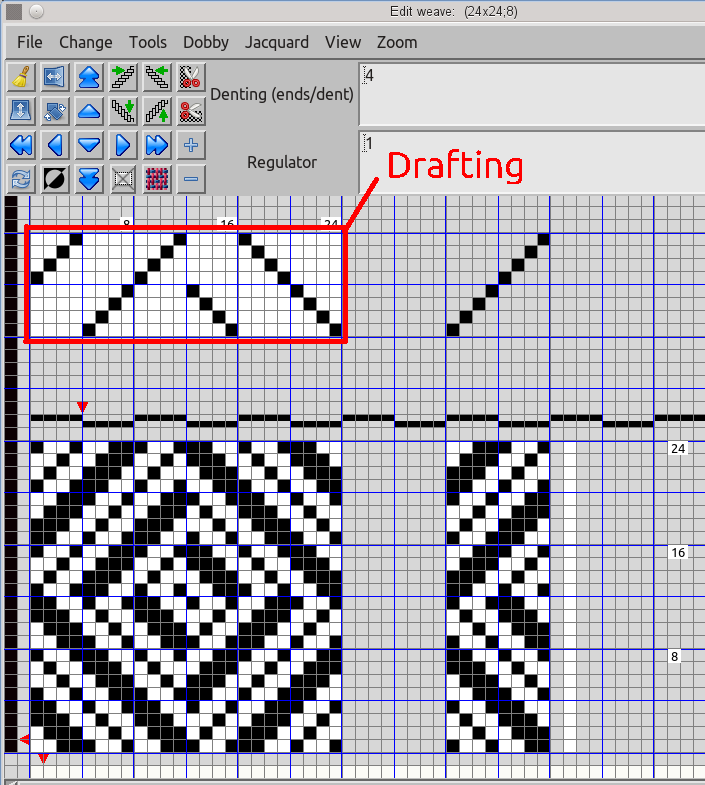
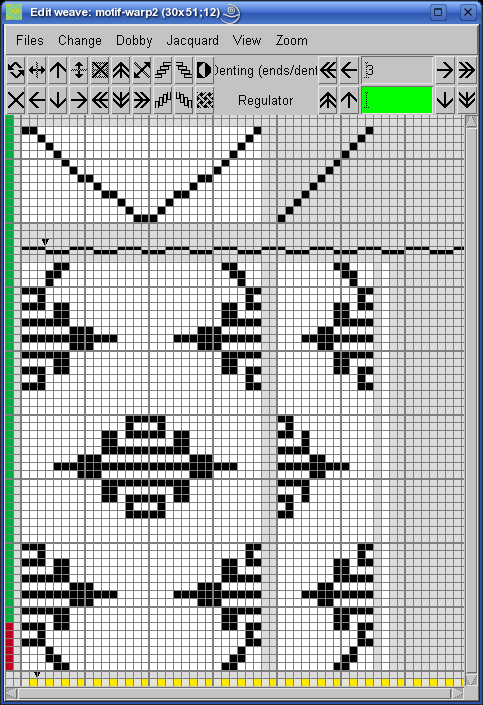
With double click you load the file, and select Örgü > Düzenle' to view it in the weave editor. Now you have jacquard data read in ArahWeave' as the weave. The software can read and correctly write the weft change pattern; you just have to specify the position of the weft change on the hooks. In the Weave editor choose Jacquard > Guess weft change. Type the Position (starting point of weft change hooks) and Length(number of weft change hooks) in the Guess weft change dialog box, and click Tamam' a tıklayın. It is easy to read the number of warp/weft positions which you are interested in, since it is interactively displayed on the right top edge of the weave editor, as you move the mouse.

You can notice a changed weft pattern at the left side of the weave editor, after it has been read from the cards.
Next to the weft change, there is the regülatör (stop motion) information. Choose Jacquard > Guess regulator, enter the Position of the regulator hook (25), and click Tamam' a tıklayın.

The weaving software writes the regulator pattern in the Regulator field, and displays it in the Information window.

Ondan sonra boş hooks, kancaları ve atkı değişimini kaldırmalısınız çünkü kumaş simülasyonu için sadece örgüye ihtiyaç duyacaksınız. Jakar > Fazla çözgüleri/atkıları iptal et i seçin. Program boş kancaları kaldıracaktır. Daha sonra Jakar > Kenarları iptal et' i seçin. Kenarlar ve aynı zamanda tüm örgü yüksekliğindeki herhangi bir kısa rapor da kaldırılacaktır. Netice olarak, bizim örneğimizde olduğu gibi basit atkı değişim raporları da kaldırılmış olacaktır. Aksi halde örgüyü sola raporun ilk kancasına elle hareket ettirmeli ve örgü raporunu uygun bir şekilde değiştirmelisiniz.

Bilgi penceresi kaldırılan kancaların sayısını gösterir.

We have reached one of the milestones, since the weave editor contains just the jacquard weave. To get the correct simulation, you also need to set colors, yarn size, sıklık ve warp pattern, while weft pattern has been already written by ArahWeave'.
İplik numarası ve bükümünü ayarlamak için Kumaş > İplikler' to set yarn size and twists in the Yarn editor. Note that you must first click on the yarn, which you want to edit; selected yarn is indicated by a black and white rectangle. In the picture, warp yarn A is selected. If your yarns have the same properties (besides color), you can copy yarn properties to other yarns by pointing to the desired yarn and clicking the right mouse button.

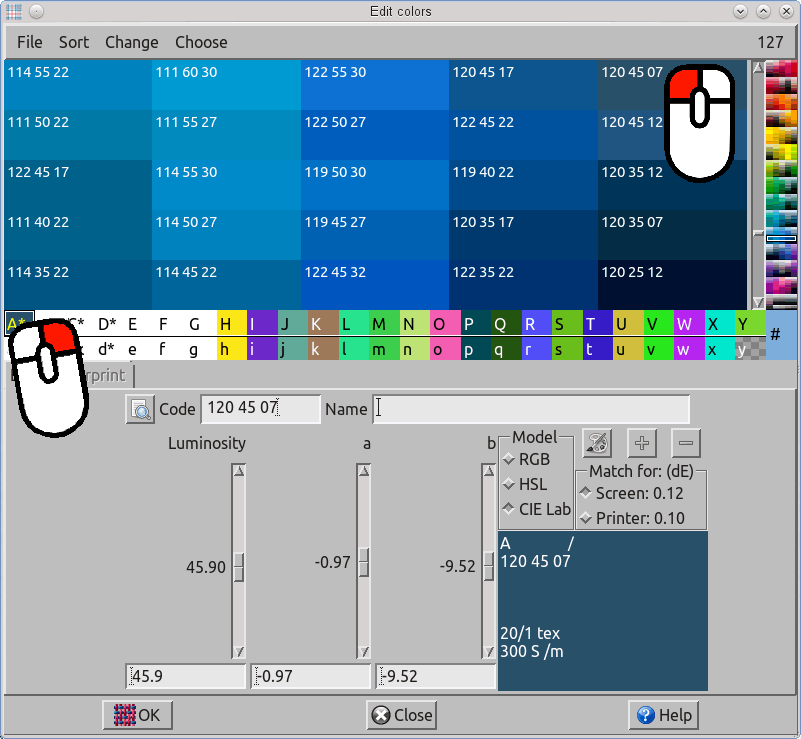
Choose the appropriate colors in Kumaş > Renkler'. In the area above letters with warp and weft yarn indication, we have loaded PANTONE® FASHION + HOME Color System colors. Use the left mouse button to select the desired color, and right to copy it to the yarn.

Daha sonra çözgü raporunu düzenlemelisiniz. Ana penceredeKumaş > İplik raporu' nu seçin. Örneğimizde çözgü raporu 1A 1B dir - bunun manası kumaşın tüm eninde bu iki iplik dönüşümlü olarak kullanılacak demektir. Daha sonra Tamam 'a tıklayın. Kumaşı gerçek renklerde elde edeceksiniz ama doğru sıklıkta değil - Renkli görüntü modu sadece çözgü ve atkı renklerini gösterir. Bir piksel (ekrandaki nokta) bir ipliği simule etmek için kullanılır. Daha yüksek bir büyütme (200%, 300%) seçerseniz, bir iplik için iki veya daha fazla piksel kullanılır.

To set the correct density of warp and weft, select Kumaş > Sıklık' and type in your values. If you have set the fabric technical data (width, number of threads…), then just check the Density from technical data check box. You have to use Density from technical data, if the fabric is using a regulator (stop motion) or denting, to achieve variable density, otherwise the fabric will be simulated just with one density.

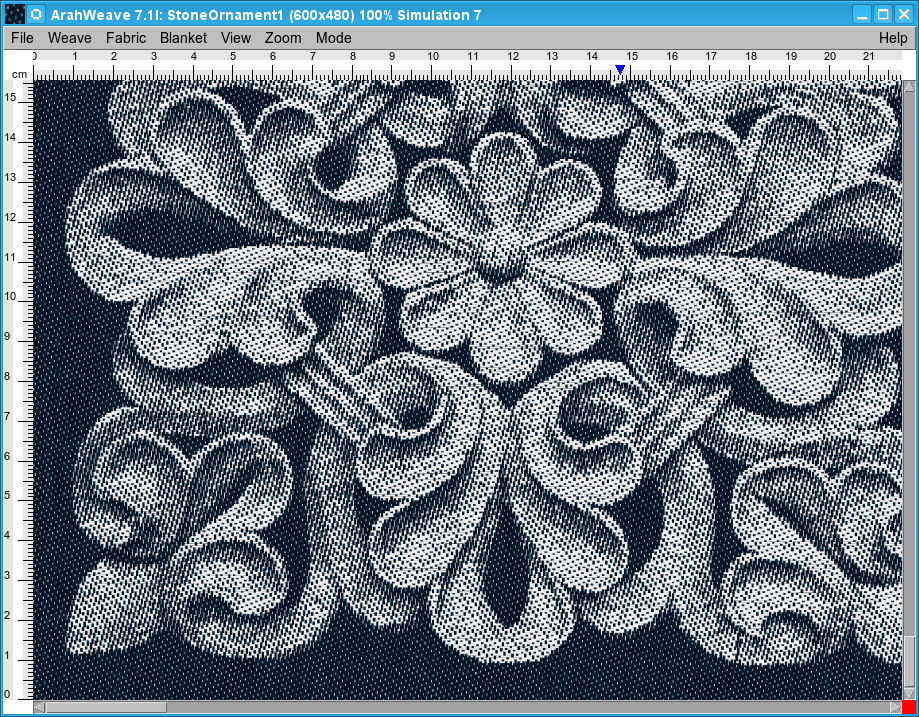
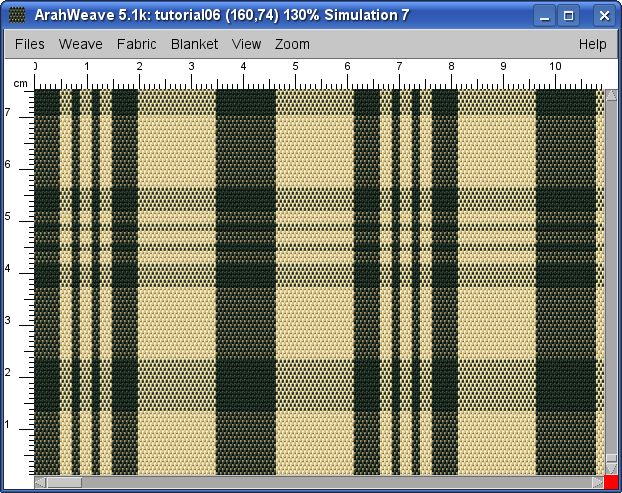
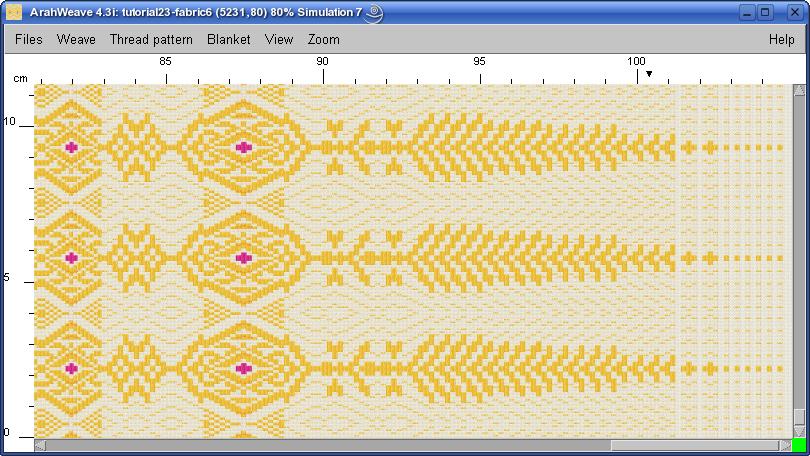
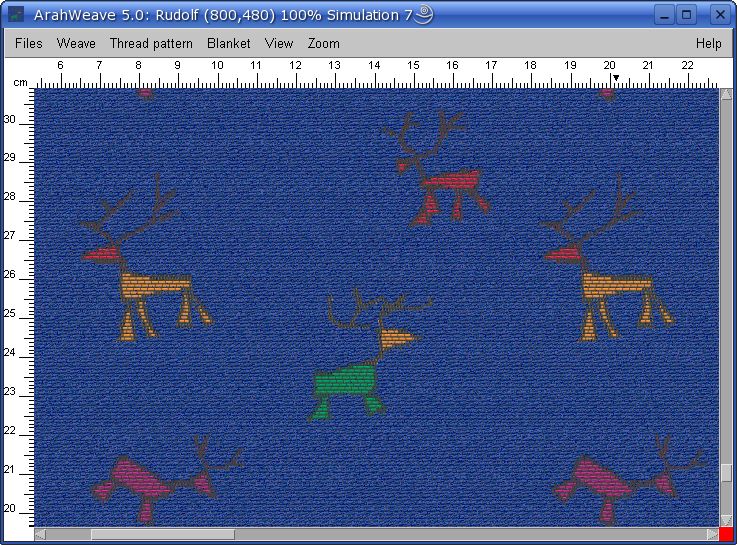
To get a simulation of the fabric, choose one of the Simulation views.

En son adım kumaş simülasyonun kağıda çıktısını almaktır. Dosya > Kumaşı yazıcıda yazdır' ı seçin. Diyalog penceresinde Yazdırma boyutu, Başlık, Sıklık, Çözgü/atkı raporu ve İplikler seçeneklerinden istediklerinizi işaretleyerek Tamam 'a tıklayın.

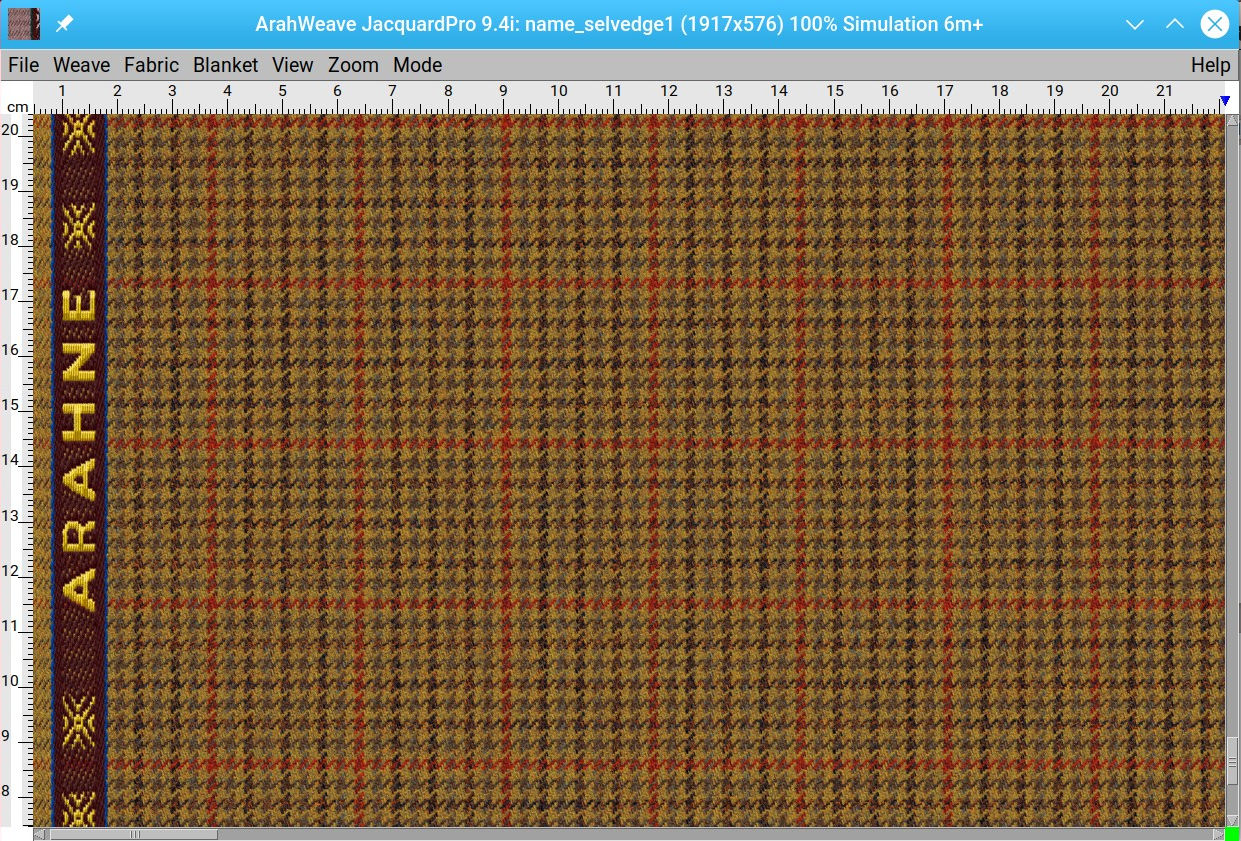
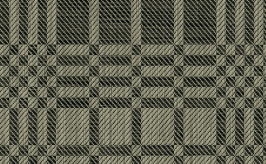
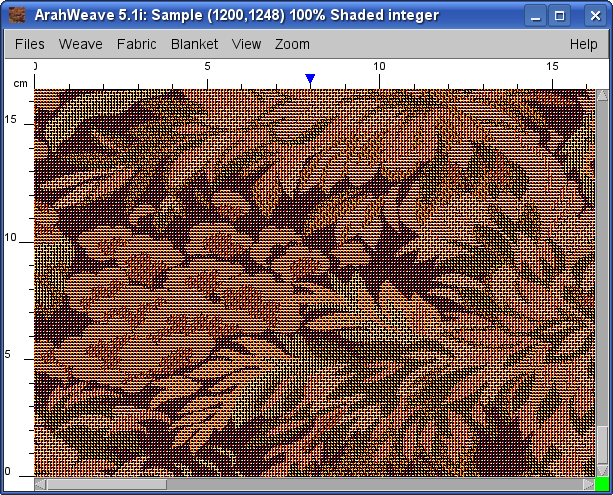
Simülasyon çıktısı aşağıdaki gibi olacaktır.

How to make a fabric simulation from a jacquard file: The Fast Way
To avoid manual steps, you can choose a different way, but you will need to create the loom layout file. Choose Weave > Save cards for productions from the main ArahWeave' window. First you need to enter the whole number of hooks (2688). To choose the type of the field (hooks function), click the field button (it is labeled Empty hook by default) and select the function (type) from the drop down menu. In the Length field enter the number of hooks for that function. You can have up to 45 equal fields, into which you can enter your loom layout: the type of the field, and its length (number of hooks).
For the sample from this tutorial, the loom layout looks like this:

Daha sonra Üretim için kartları kaydet penceresinden Değiştir > Tezgah düzeninden veri elde etme ' yi seçin. Ayarlar doğru ise yukarıdan bir fare tıklaması ile tüm çıkarım adımlarını elde edersiniz. Şimdi simülasyon parametrelerinin ayarları ile doğrudan devam edebilirsiniz.
Aynı tezgah düzeni ile ilgili daha fazla karta sahipseniz, Değiştir menüsünden Otomatik çıkarım fonksiyonunu kullanın.

When you load a jacquard card file from the Card browser, ArahWeave' will automatically extract the weave data from the card. The Üretim için kartları kaydet window does not need to be open. Fix the simulation, save the fabric, and load another card… It can’t get much easier than this. Or maybe it can! If you are a normal weaver with a limited number of warps, you can previously save all the warps you use, and then load the warp after extracting the cards. So you do not need to set the warp yarns, colors, density, total number of threads in warp, … every time.
Our bag of tricks is not yet empty, we have special tools for converting 10.000 jacquard files into fabric simulation in an automatic way. Yes, we already did it. But we do not want to try your patience any longer, just so that you know who to call, if you would ever need that.
