
TUTORIALS
How to make a fabric simulation from a jacquard file
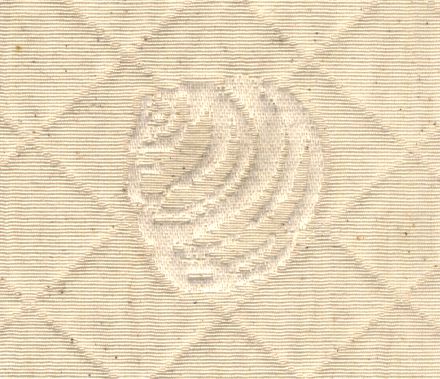
The fabric used in this tutorial is courtesy of Lanificio di Sordevolo, and was woven for Bogner.
Most weavers would like to see a fabric simulation before weaving. Some are commission weavers, and do not have a CAD, or have one with a very limited simulation capacity. All they have is a jacquard file, which they need to weave. In this tutorial, we will teach you how to make a fabric simulation from the jacquard cards. It even works in the demo version of ArahWeave, and you can save the fabric simulation as a JPEG image. So download a demo and give it a try!
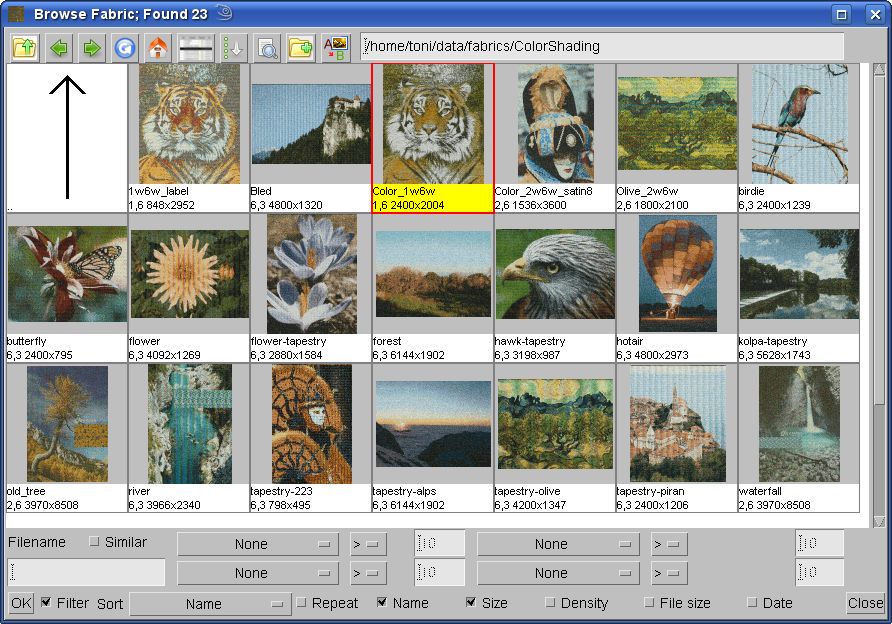
You can load the card into ArahWeave from the Card browser (Weave > Load cards), which displays card files as image thumbnails, or simply drag and drop the file icon from file manager to ArahWeave icon on your Desktop.
If you still use floppy disk, insert floppy and choose Weave > Read Jacquard floppy. When the computer finishes reading the files from the floppy, ArahWeave will ask you to insert the next floppy. If the file is only on one floppy, or you have read in all the floppies, click Cancel, and the file selection box will appear. You can see that the name of the file is sample.jc5 and we can conclude that it is written in Stäubli jc5 format. Select the file, and ArahWeave will automatically detect the file format and load it.

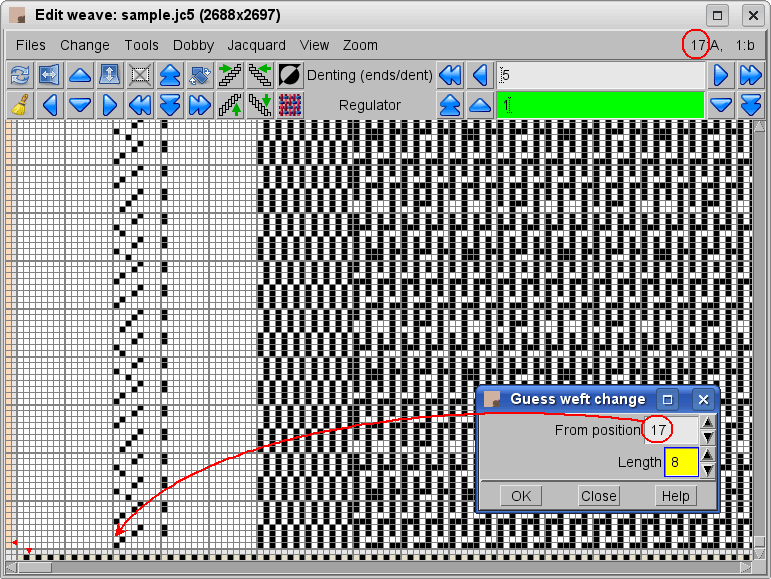
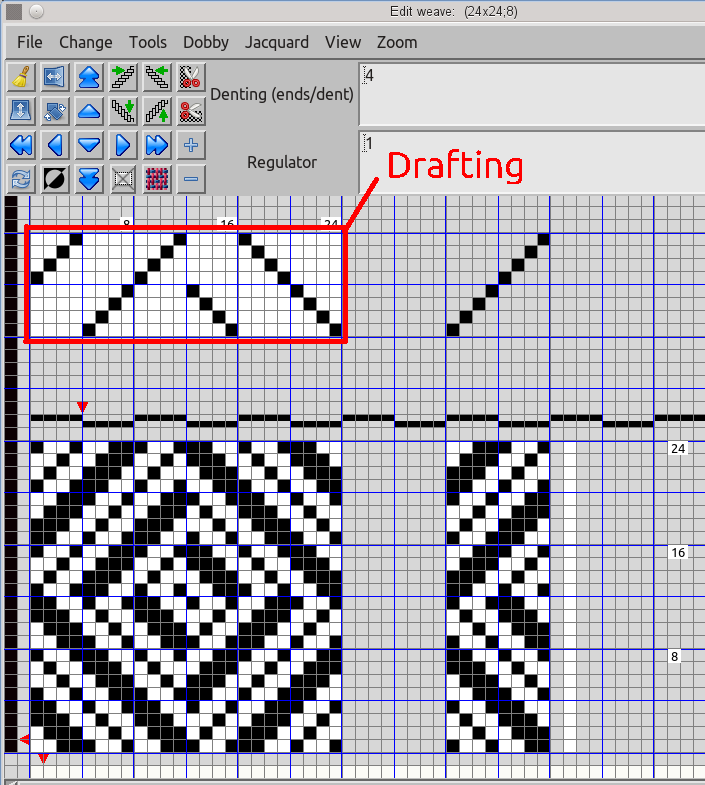
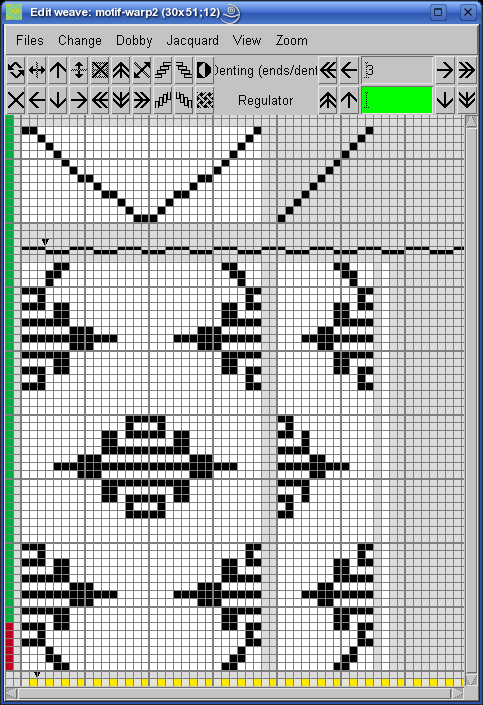
With double click you load the file, and select Weave > Edit to view it in the weave editor. Now you have jacquard data read in ArahWeave as the weave. The software can read and correctly write the weft change pattern; you just have to specify the position of the weft change on the hooks. In the Weave editor choose Jacquard > Guess weft change. Type the Position (starting point of weft change hooks) and Length(number of weft change hooks) in the Guess weft change dialog box, and click OK. It is easy to read the number of warp/weft positions which you are interested in, since it is interactively displayed on the right top edge of the weave editor, as you move the mouse.

You can notice a changed weft pattern at the left side of the weave editor, after it has been read from the cards.
Next to the weft change, there is the regulator (stop motion) information. Choose Jacquard > Guess regulator, enter the Position of the regulator hook (25), and click OK.

The weaving software writes the regulator pattern in the Regulator field, and displays it in the Information window.

Then you should remove the empty hooks, selvedges and weft change, since you will need just the weave for fabric simulation. Choose Jacquard > Remove extra warps/wefts. The weaving software will remove empty hooks. Then choose Jacquard > Remove selvedges. Selvedges will be removed, but also any short repeating pattern in the full height of the weave. Simple weft change patterns like the one in our example will also be removed as a consequence. Otherwise you should remove it manually by moving the weave to the left to the first pattern hook, and changing the weave size appropriately.

The Information window shows the number of removed hooks.

We have reached one of the milestones, since the weave editor contains just the jacquard weave. To get the correct simulation, you also need to set colors, yarn size, density and warp pattern, while weft pattern has been already written by ArahWeave.
Select Fabric > Yarns to set yarn size and twists in the Yarn editor. Note that you must first click on the yarn, which you want to edit; selected yarn is indicated by a black and white rectangle. In the picture, warp yarn A is selected. If your yarns have the same properties (besides color), you can copy yarn properties to other yarns by pointing to the desired yarn and clicking the right mouse button.

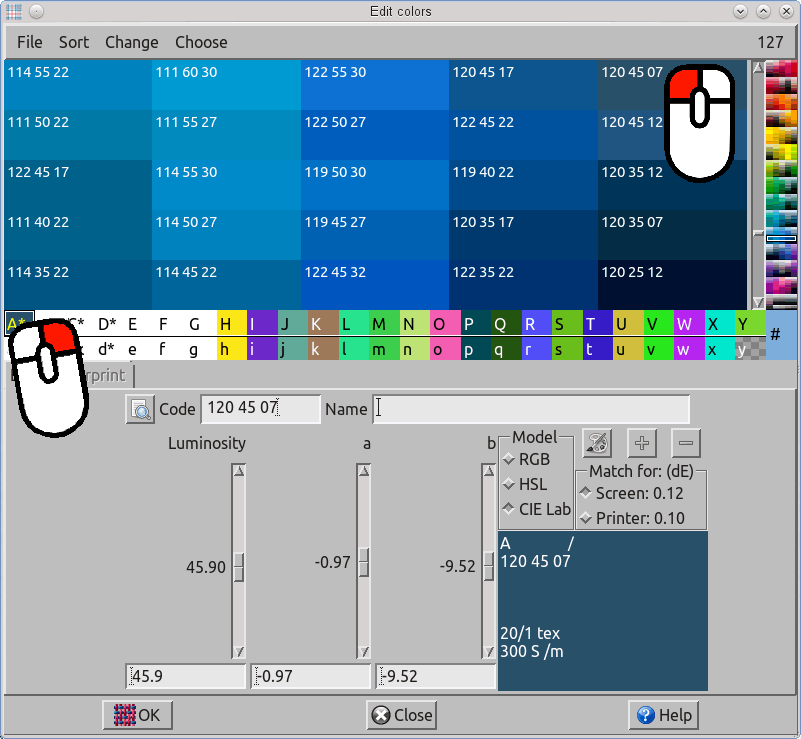
Choose the appropriate colors in Fabric > Colors. In the area above letters with warp and weft yarn indication, we have loaded PANTONE® FASHION + HOME Color System colors. Use the left mouse button to select the desired color, and right to copy it to the yarn.

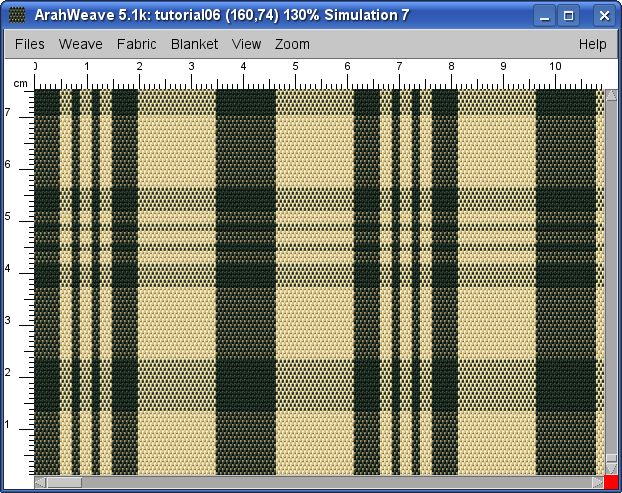
Then you should edit the warp pattern. In the main window choose Fabric > Thread pattern. In the Edit warp and weft pattern dialog box type the warp pattern. The warp pattern is 1A 1B for our example – it means that two different warp threads (ends) are repeated across the full fabric width. Then click OK. You will get the fabric in real colors, but not the correct density – the Integer view mode just shows the weave in warp/weft colors. One pixel (point on the screen) is used to simulate one thread. If you choose a bigger zoom (200%, 300%) two or more pixels are used for one thread.

To set the correct density of warp and weft, select Fabric > Density and type in your values. If you have set the fabric technical data (width, number of threads…), then just check the Density from technical data check box. You have to use Density from technical data, if the fabric is using a regulator (stop motion) or denting, to achieve variable density, otherwise the fabric will be simulated just with one density.

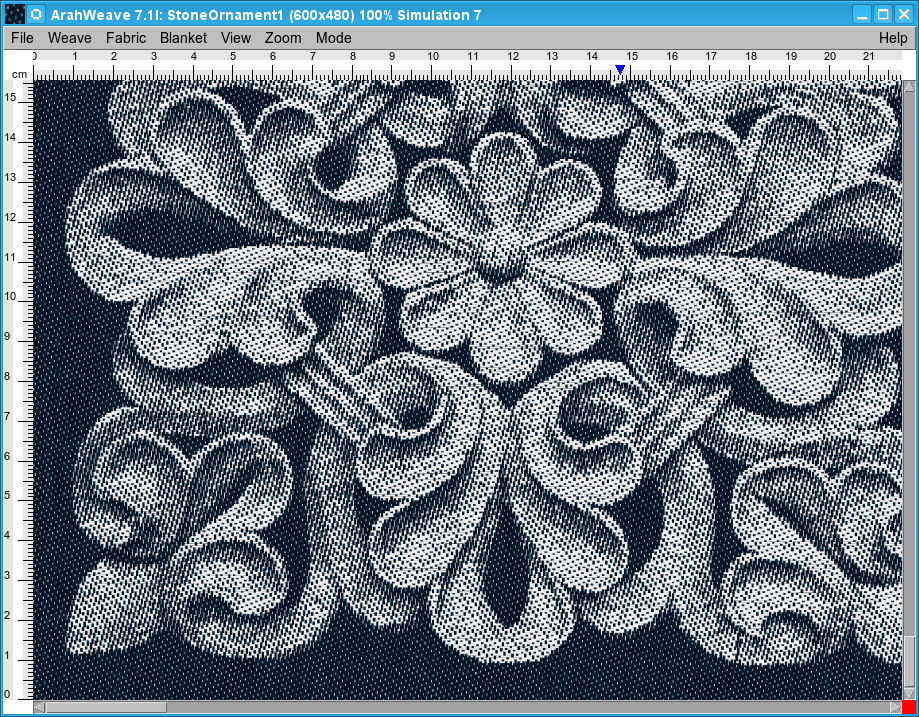
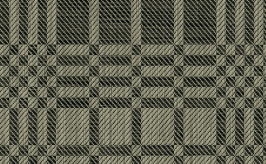
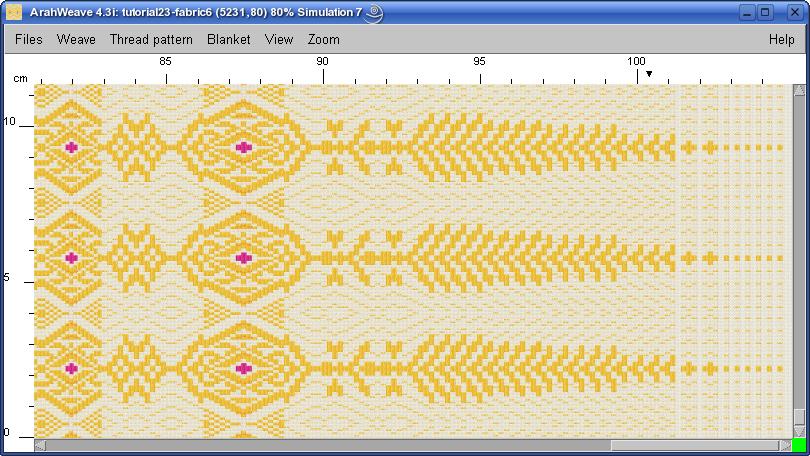
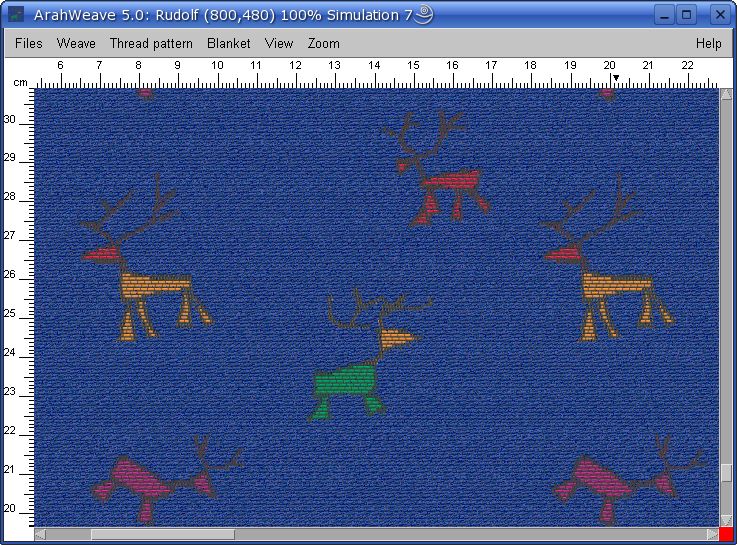
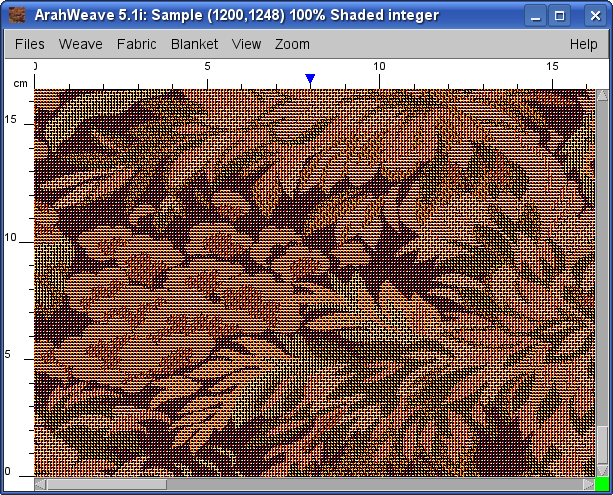
To get a simulation of the fabric, choose one of the Simulation views.

The last step is printing of the fabric simulation on the paper. Choose Files > Print fabric to printer. In the dialog box set the Print size, select whether you want to have Title, Density, Warp/weft pattern and Yarns on the printout and click OK.

The printed simulation would look something like this.

How to make a fabric simulation from a jacquard file: The Fast Way
To avoid manual steps, you can choose a different way, but you will need to create the loom layout file. Choose Weave > Save cards for productions from the main ArahWeave window. First you need to enter the whole number of hooks (2688). To choose the type of the field (hooks function), click the field button (it is labeled Empty hook by default) and select the function (type) from the drop down menu. In the Length field enter the number of hooks for that function. You can have up to 45 equal fields, into which you can enter your loom layout: the type of the field, and its length (number of hooks).
For the sample from this tutorial, the loom layout looks like this:

Then choose Change > Extract data using loom layout from the Save cards for production window. If the settings are correct, you get all the extraction steps from the above with one mouse click. Now you can continue directly with settings of the simulation parameters.
If you have more cards, which correspond to the same loom layout, you can use the Automatic extract function from the Change menu.

When you load a jacquard card file from the Card browser, ArahWeave will automatically extract the weave data from the card. The Save cards for production window does not need to be open. Fix the simulation, save the fabric, and load another card… It can’t get much easier than this. Or maybe it can! If you are a normal weaver with a limited number of warps, you can previously save all the warps you use, and then load the warp after extracting the cards. So you do not need to set the warp yarns, colors, density, total number of threads in warp, … every time.
Our bag of tricks is not yet empty, we have special tools for converting 10.000 jacquard files into fabric simulation in an automatic way. Yes, we already did it. But we do not want to try your patience any longer, just so that you know who to call, if you would ever need that.
