
TUTORIALS
Genera automaticamente note di ordito e trama
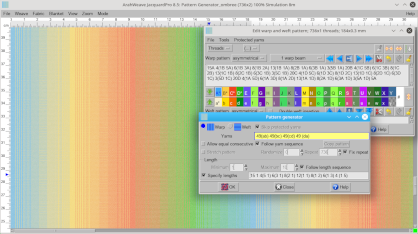
Pattern generator creates random (or partially random, partially controlled) patterns, usually very complex, from the given set of parameters. To use parametric creation of warp/weft pattern choose Tools->Pattern Generator in the Edit thread pattern window. The window has several buttons and fields, many of which are exclusive. We gray out the fields which do not have any effect in the current setting. The window may appear to have many settings, but only about half can be active a the time, so it is not so complicated as it looks. But we can combine them in various ways, so it is quite powerful.
In the Pattern generator window select whether you want to create warp or weft pattern. Software takes the size of the repeat from the Edit warp and weft pattern window, so you should set the repeat to something which is big enough, that it makes sense for parametric creation, instead of numeric writing. In the most simple way of using this function, you combine two things: the yarns to be inserted (yarns a,b,c,d on the image), and the lengths to be inserted. You can specify the minimum and maximum length, and program will randomly insert yarns sections with the number of repeat threads among the limits, until it fills up the repeat.

When you set the parameters, click the OK button, and the program generates a new pattern. If you click OK again, it will generate another one. Keep on clicking until you stumble upon something you like. Or if you don’t like anything, read on and learn how to change the parameters.

You can control the amount of each yarn inserted: if you enter aaaabc (or 4abc) in the yarn field, then program will insert yarn a four times more likely than b or c.

The Yarns parameter has two options. Allow equal consecutive means that is possible that one color sequence is followed by the same color sequence based on the statistic probability. If this option is off, then the program prevents following of one color sequence by same color sequence. So the lengths will never be prolonged, since two consecutive yarn sequences will never merge in the same yarn letter.
If the Follow yarn sequence option is on, then the program writes the pattern always following the yarn order, which you have entered in the field, regardless the statistic probability.
Instead of setting the Minimum / Maximum length range, you can enable Specify lengths and the program will allow you to specify the lengths of repeat of a single yarn which will be inserted. On the screen shot below the allowed lengths are 2, 4 and 6. As with yarn order, you can also enable Follow length sequence. It means that the numbers of yarns in the pattern will be ordered as written in the Specify lengthsfield.

Complex shading patterns – Ombré patterns
If you enable both Follow yarn sequence and Follow length sequence, then the pattern becomes completely deterministic. It is very useful for long and complex shading patterns, where you repeat the same numeric pattern over a sequence of different yarns. In this case, it can be difficult to find out the final repeat length, so you have Fix repeat option, which allows ArahWeave to overwrite previous repeat size with the new one. You can use parenthesis in both the Yarns and Specify lengths fields.
Suggested order of steps is:
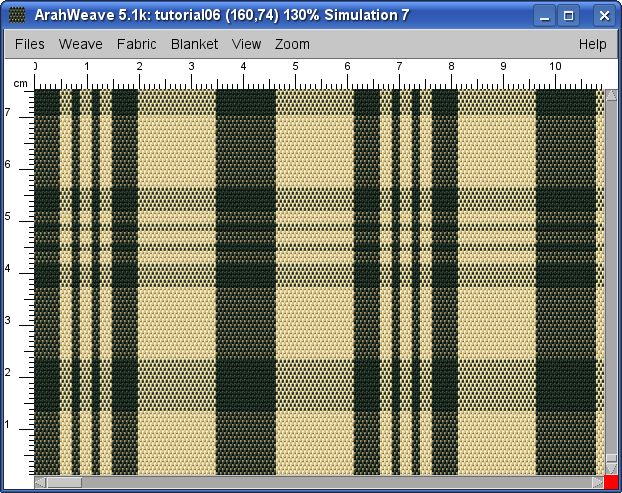
Check Specify lengths and Follow yarn sequence. Enter the length sequences. The sample on the image below starts with length 15, then 1, 5 times followed by 5 and 1, and so on. Then click the OK button, so the program calculates the number of color sequences – there are 98 sequences, and the number of threads is 184. If we need more or less threads, just change some numbers of the lengths, and press OK again.
Then go to yarns section. Since there are 98 sequences, which should be split between two neighboring colors, just type 49(ab), and continue depending on the number of colors which you want to use. In this example we use four yarn colors, so we enter: 49(ab) 49(bc) 49(cd) 49(da). The end result is quite a complex repeat of 736 threads. You could write this by hand, if you needed to, and many people still do every day. But the moment when you want to modify it, becomes a real pain. While with ArahWeave, adding another color sequence or prolonging the middle single color area is a child’s play.

Stretch function
If you enter yarns in the Yarns field (on the image below aabcb, and enable Follow yarn sequence and Stretch pattern, you are free to set the length of the repeat to whatever you want (on the sample we use value of 500). The Stretch function will cause the program to stretch the pattern in the full width of the specified repeat. This makes a pattern of 200A 100B 100C 100B.

Obviously, this is not the purpose of this function. But you can set the length to 1, and Randomize to, let’s say 150, and program will not only predictably choose the next thread, but will make a random shading transition between the two color segments. The higher the value of Randomize, the more random the transition.

We can also use this function to resize an existing pattern to a new repeat size. For example, you can have the pattern of 356 threads, which you want to proportionally resize to 220 threads. You should enable Follow yarn sequence first, then Stretch, then use function Copy pattern, which will copy the existing pattern of 356 threads in the Yarns field.

Then set the Repeat number to 220 and click OK. This will proportionally resize the pattern. If you wish, you may still use the Randomizeoption with this function, or instruct the program to rewrite the pattern with specific lengths, for example by two threads, instead of one thread.

Protected yarns
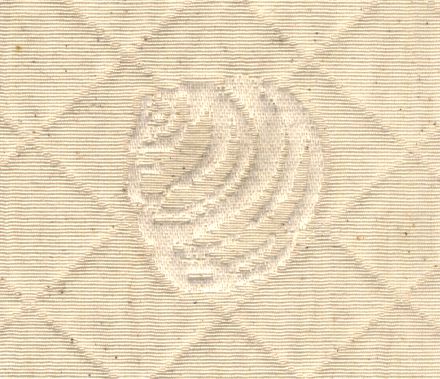
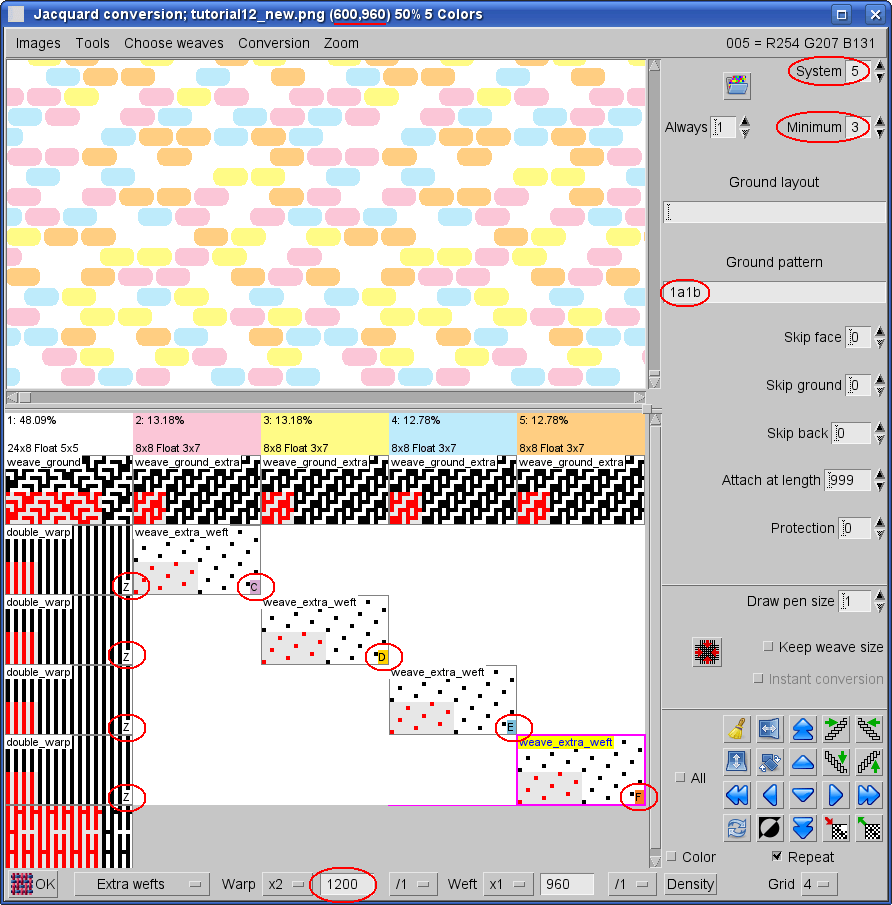
An important feature of the Pattern generator is, that it doesn’t overwrite the protected yarns, if you have them in the pattern. Image shows a fabric with extra wefts, where we want to modify the ground weft. Normally, this is quite difficult, since ground pattern in all interlaced with the extra weft, in an irregular way, depending whether the extra wefts are present at certain area or not.

Fabric courtesy of Arazzo
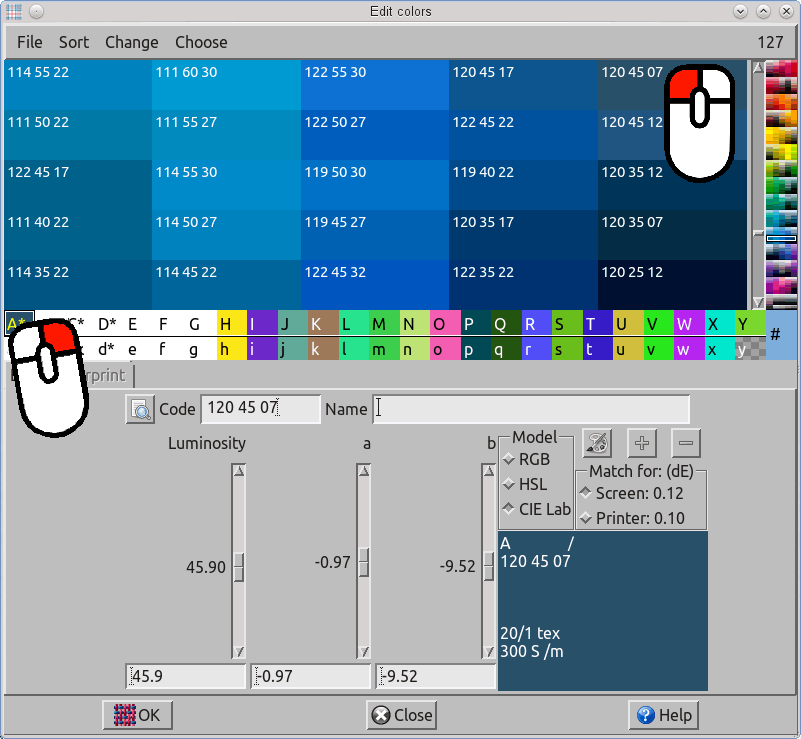
Use double mouse click in the Edit warp and weft pattern window to protect the extra weft yarns (these are: b, c, d, e, f). Once protected, they will be marked with an X.

In the Pattern generator window you may now set the toggle button Skip protected yarns, which will continue the sequence as if the protected yarns were not there. This will cause the ground pattern to have the same statistic properties in areas with and without extra wefts. Otherwise, the ground will look different on areas with extra wefts.

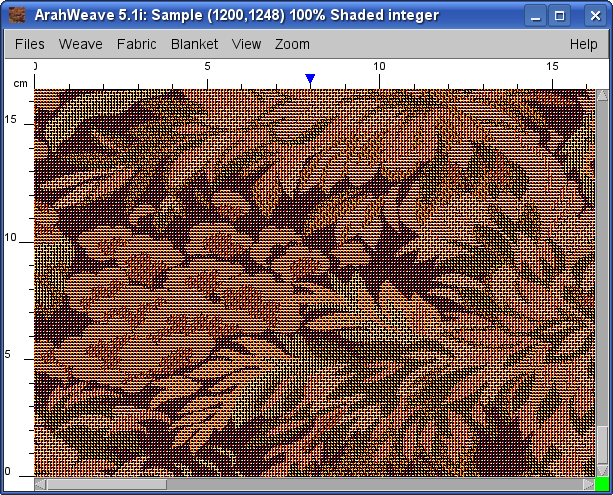
After clicking OK, you get a new weft fabric…

…with a weft pattern which just can’t be done by hand. Don’t try this at home. Unless you have ArahWeave.

