
TUTORIALS
Genera un'armatura crepe
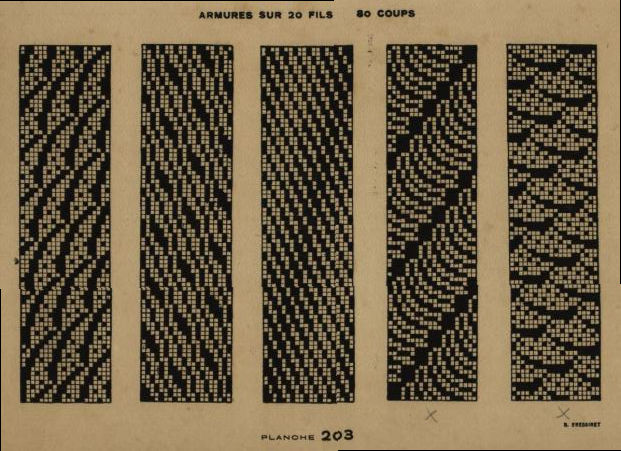
Crêpe weaves are called that way because the resulting fabric slightly resembles a pancake (French: crêpe). Every weaver knows, that it is difficult to design a crêpe weave, which is seamless on borders, and does not have any unwanted lines, when viewed from a distance. Most people use just a few crêpe weaves from the company’s historical archive or from weaving textbooks or collections. Troubles arise when you need a new crêpe weave with different repeat size, or even different properties, such as maximal float in warp or in weft, or the ratio of warp versus weft effect.
ArahWeave has a special tool, which generates crêpe weaves instantly. You just need to set the properties of the new weave. This tool works both on selection, as on the full weave, but it has more options if it works over a full weave. The tool is more appropriate for jacquard, since it does not handle shafts in any way. Unfortunately, you can not overcome the shaft limitation by just making a small weave, for example 16×200, since the resulting weave will be too irregular to qualify as a crêpe. Your weave must be large, for this function to work properly.
In order to make a new crêpe weave, you should first open the Weave editor, choose Change > Dimensions to set the Repeat size of the new weave.

Close the Change dimension window, and choose Tools > Make crêpe weave.

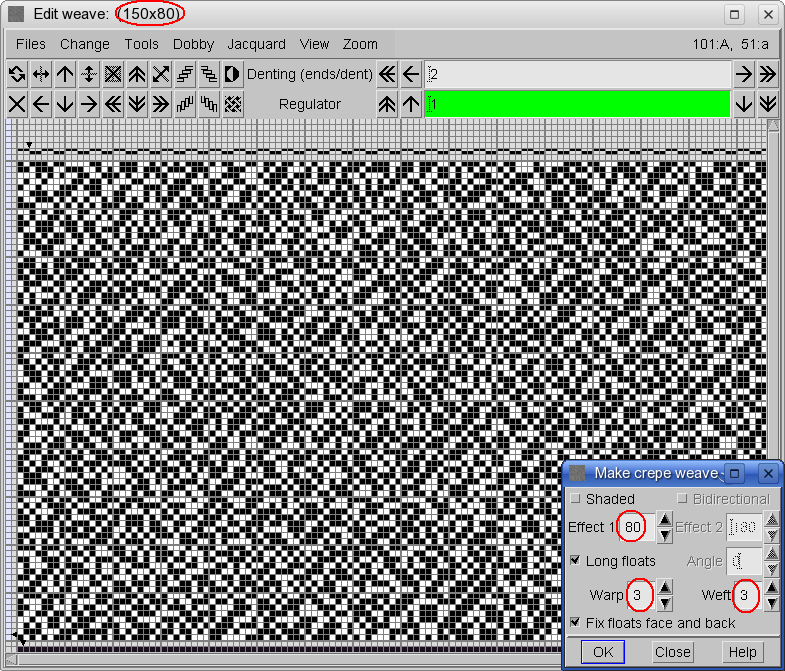
You should specify the Effect 1 – valid values go from 1 to 254. If you are closer to 1, the resulting weave will have warp effect, if you are closer to 254, you will get stronger weft effect. The value of 128 will make a balanced effect.
Next is the control of Long floats, which is enabled by default. You can specify the desired maximum float for the warp and for the weft. It is difficult to make a repeating weave which is repeating in all dimensions and satisfies this requirement. So it is more like a suggestion to the program, most of the floats will be like that, but some will not be. You can check this in the long floats control window, from Change > Floats… If you do not want to do this manually, then enable the Fix floats face and back option. As program can not satisfy the float request 100%, it sets the permitted float to one point more than what you asked for. For example, if you set the float of 3 in warp, program will set maximum permitted float to 4. The program is fully interactive, so you can use the wheel mouse in numeric fields and observe the effects. Click OK, and you will get something like this.

In the next picture, we have changed the Effect 1 to 128: notice the change in the overall effect, as it becomes completely balanced. The previous weave had more black points, so it was a warp effect weave.

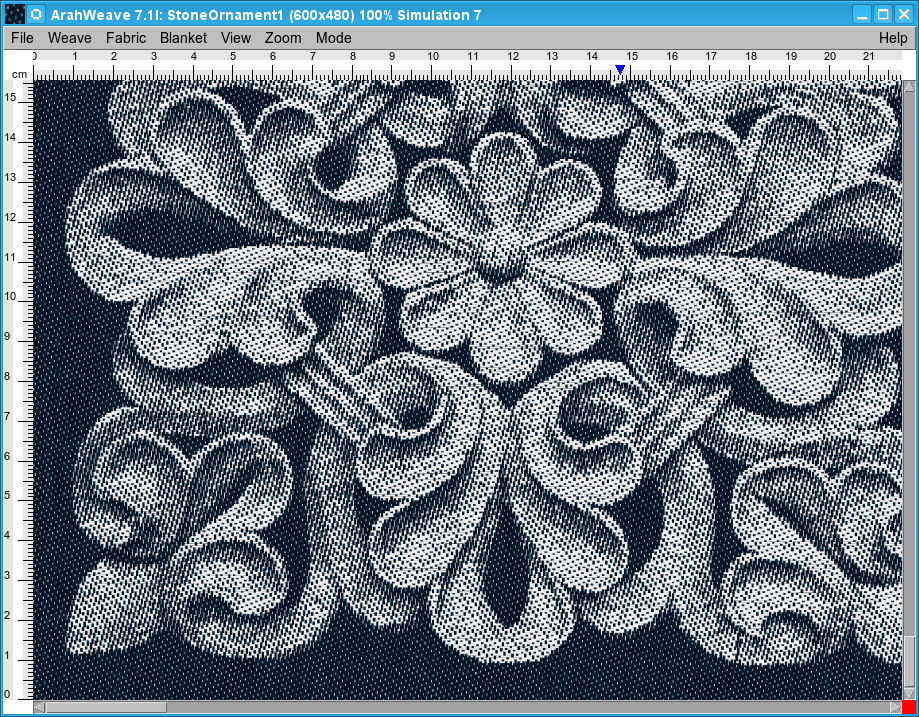
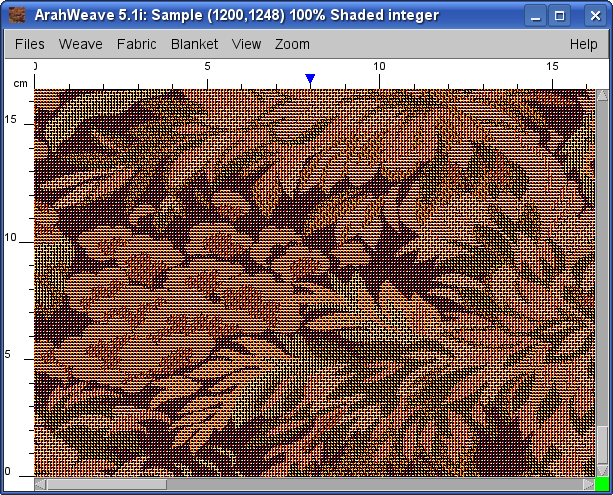
We can also observe the big crêpe weave in the main window. Human eye has been trained by the evolution to quickly spot any irregularities. Seeing is believing, so you probably do not need a lot of convincing that we have really made a good crêpe weave.

Shaded crêpe weave
On the top of the Make crêpe weave window, you can enable the Shaded toggle button, which allows you to specify two values for effect. Program will make a horizontal shade from one effect to the other.

If you turn on the Bidirectional button, program makes smooth transition between dark and light (warp and weft effect) areas.

On top of everything, you can also set the angle of the shaded effect, by setting the Angle parameter. It works both for normal and bidirectional shading.

Obviously, you can then use this weave for a more complex patterns, for example as a ground weave on a tie, then add a motif with extra wefts, and spice it up with a complex warp and/or weft pattern. Now you have an extra ace in your sleeve to protect yourself from competitors who try to copy your designs.
